Gallery: Inner or Nested Glossaries
type vs group vs parent) shows the different ways of dividing your entries into logical groups using the type, group or parent fields. As from glossaries-extra v1.44, you can now also use “inner” or nested glossaries. This is a more complicated method that can’t be used with tabular-like styles (such as long or super) and so should only be used if the methods described in Logical Glossary Divisions (type vs group vs parent) can’t produce the desired effect.
The example documents below use the same .bib files as in the earlier example: topics.bib, symboltopics.bib, pictographs.bib, latinsymbols.bib, mathgreek.bib, abbreviations.bib, animals.bib, minerals.bib, vegetables.bib.
To provide a better understanding of how inner glossaries work, it’s useful to understand the difference between \printglossary (used with makeindex and xindy) and \printunsrtglossary (used with bib2gls).
In the first case, makeindex or xindy is used to create a file that contains content in the form:
\glossarysection[\glossarytoctitle]{\glossarytitle}\glossarypreamble
\begin{theglossary}\glossaryheader
content
\end{theglossary}\glossarypostamble
where content contains lines such as:
\glsgroupheading{group label}\relax \glsresetentrylist
\glossentry{entry label}{location list}%
\subglossentry{level}{entry label}{location list}%
The group headings are typeset using \glsgroupheading. (That command is followed by \glsresetentrylist, which resets the location list encapsulation and allows the location list to be saved, if required.) Top-level entries are typeset with \glossentry and child entries are typeset with \subglossentry where level indicates the hierarchical level. Both makeindex and xindy order the items so that the child entries are placed immediately after the corresponding parent entry.
The \printglossary command essentially does:
Set default title and style.
\bgroup
  Initial setup.
  Input the file created by makeindex or xindy.
\egroup
The initial setup part sets the glossary style (which determines the definitions of theglossary, \glossaryheader, \glsgroupheading, \glossentry and \subglossentry), assigns the title and defines \currentglossary. (There is some other stuff done both before and after the file is input, but that’s not relevant here.)
In the second case, bib2gls is used to create a file that contains the entry definitions, which is input in the document preamble (via \GlsXtrLoadResources). The entries are defined in the required order and use internal fields to store the indexing information (such as the group label and location lists). Now \printunsrtglossary is used to display the glossary, which essentially does:
Set default title and style.
\bgroup
  Initial setup.
  \glossarysection[\glossarytoctitle]{\glossarytitle}\glossarypreamble
  Construct internal control sequence containing glossary content.
  Expand internal control sequence.
  \glossarypostamble
\egroup
The initial setup is the same as for \printglossary. The key difference here is that there’s no file containing the typeset glossary that can be simply input. Instead it’s necessary to iterate over all entries. Some of the glossary styles use a tabular-like environment (such as longtable, which is used by the long styles). It’s always problematic having a loop inside a tabular context so \printunsrtglossary by-passes the problem by moving the loop outside of the theglossary environment. The command iterates over all entries and constructs an internal control sequence, which ends up containing:
\begin{theglossary}\glossaryheader\glsresetentrylist
content
\end{theglossary}
The content in this case is different as it doesn’t explicitly contain \glossentry and \subglossentry but instead uses an internal handler that just takes the entry label as the argument. The \glsgroupheading{group label} command is inserted whenever a top-level entry has the group field set to a label that’s different to the previous top-level entry’s group field (unless the groups=false option, provided with glossaries-extra v1.44+, is used in the optional argument of \printunsrtglossary). So the content is in the form:
\glsgroupheading{group label}%
\internal cs handler{entry label}%
\internal cs handler{entry label}%
…
\glsgroupheading{group label}%
\internal cs handler{entry label}%
\internal cs handler{entry label}%
…
The loop that constructs this content has a hook that’s used at the start of each iteration. This hook can be modified to skip the current entry, as in the Summary of Frequently Used Terms example, so that the entry is omitted from the content.
The internal cs handler sets \glscurrententrylabel to the current entry label and uses \printunsrtglossaryhandler{label} to format the entry. This user-level command may be redefined to adjust the formatting. The default definition is simply:
\newcommand{\printunsrtglossaryhandler}[1]{\glsxtrunsrtdo{#1}}
where \glsxtrunsrtdo accesses the entry’s hierarchical level and, based on that, determines whether to use \glossentry or \subglossentry. The leveloffset option (glossaries-extra v1.44+) which can be passed to \printunsrtglossary) will make \glsxtrunsrtdo increment the hierarchical level by the offset before it determines whether \glossentry or \subglossentry is required.
\printunsrtinnerglossary
As from glossaries-extra v1.44, there is now a similar command:
\printunsrtinnerglossary[options]{pre-code}{post-code}
which behaves in a comparable way to the inner part of \printunsrtglossary[options]. This new command doesn’t do the first part:
Set default title and style.
\bgroup
  Initial setup.
  \glossarysection[\glossarytoctitle]{\glossarytitle}\glossarypreamble
or the last part:
  \glossarypostamble
\egroup
As with \printunsrtglossary, \printunsrtinnerglossary constructs an internal control sequence containing the content but it doesn’t add:
\begin{theglossary}%
\glossaryheader\glsresetentrylist
or \end{theglossary} to the content. To localise the effect of any options that may be supplied, internal scoping is inserted, so \printunsrtinnerglossary essentially does:
\begingroup
  Initial setup (process options).
  pre-code
  Construct internal control sequence containing glossary content.
  Expand internal control sequence.
  post-code
\endgroup
where the internal control sequence now only contains instances of \internal cs handler{entry label} and (possibly) \glsgroupheading{group label} (not the encapsulating theglossary environment or header, which have to be added separately).
Since this inner command doesn’t have a header and should always be placed inside theglossary (and so the style must have already been set before the start of that environment and can’t be altered mid-way through it), there are some options that can be passed to \printunsrtglossary that make no sense with \printunsrtinnerglossary and so are ignored. These include: title, toctitle, style, numberedsection and label.
The internal scoping and the need now for the loop to be inside theglossary makes this command unsuitable for tabular-like styles.
There are two ways of placing \printunsrtinnerglossary within theglossary (and ensuring that the style is correctly initialised):
- Place
\printunsrtinnerglossaryinside theprintunsrtglossarywrapenvironment. - Redefine the handler function
\printunsrtglossaryhandler{label}to use\printunsrtinnerglossary. In this case, there must be some way of obtaining the inner glossary type from the entry identified by label.
These methods are demonstrated in the examples below.
printunsrtglossarywrap
The printunsrtglossarywrap environment takes one optional argument that uses the same keys as \printunsrtglossary. Note that in this case the type key simply provides a title (if one has been assigned to that glossary). It doesn’t indicate the content.
The start of the environment sets up the glossary style and does the header:
Set default title and style.
Initial setup.
\glossarysection[\glossarytoctitle]{\glossarytitle}\glossarypreamble
\glossarypreamble
\begin{theglossary}\glossaryheader\glsresetentrylist
The end of this wrapper environment ends theglossary and does the postamble:
\end{theglossary}\glossarypostamble
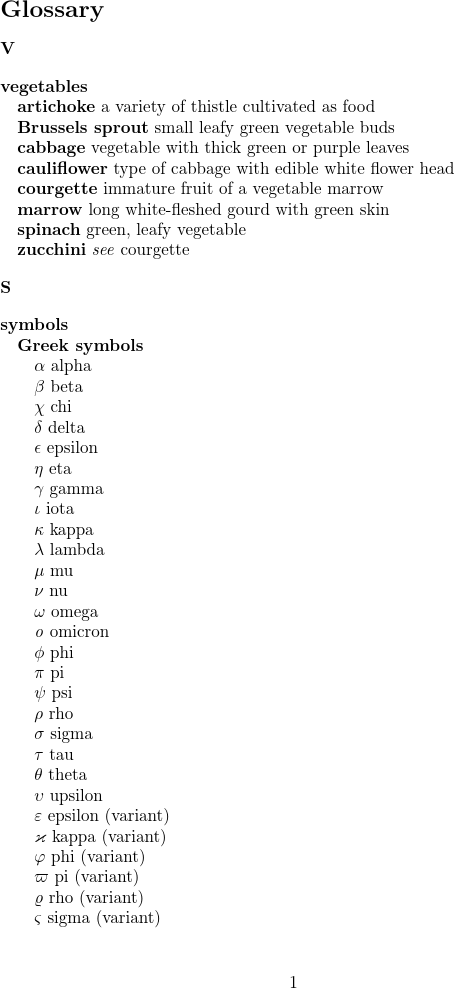
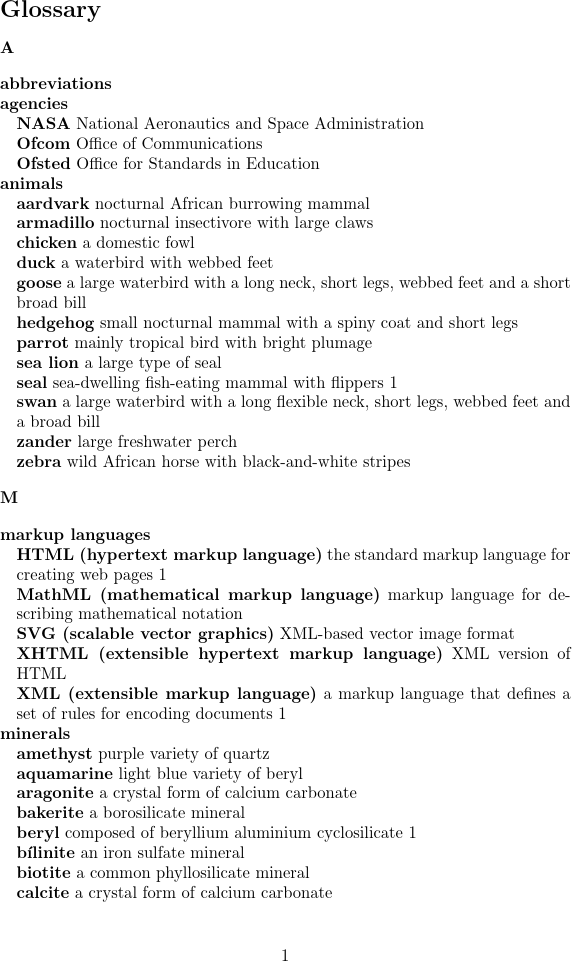
This first example uses the sample files pictographs.bib, latinsymbols.bib, mathgreek.bib, abbreviations.bib, animals.bib, minerals.bib, vegetables.bib. Each file corresponds to a separate glossary. The default main glossary isn’t required so the nomain option is used to prevent its automatic creation. The glossary labels correspond to the base name of each .bib file. Since the base name of the abbreviations.bib file matches the label of the glossary created with the abbreviations package option, that option is used to conveniently define it. The other glossaries are defined manually with \newglossary*:
\newglossary*{vegetables}{Vegetables}
\newglossary*{minerals}{Minerals}
\newglossary*{animals}{Animals}
\newglossary*{mathgreek}{Symbols (Greek)}
\newglossary*{latinsymbols}{Symbols (Latin)}
\newglossary*{pictographs}{Pictographs}
Remember that the abbreviation styles must be set before the resource file is loaded:
\setabbreviationstyle{short-long-desc}
\setabbreviationstyle[acronym]{short-long}
All entries can be processed in a single resource set. The type={same as base} option conveniently assigns the type field to the base name of the corresponding .bib file. All entries are selected. There are no references in the document so there are no location lists.
The list style is used. This can be problematic with \printunsrtinnerglossary as it can lead to a “missing \item” error on the first LaTeX run if all instances of \item are within the handler function. (No entries are defined on the first LaTeX run so the handler function isn’t called.) In this case, I’ve explicitly used \item to separate each glossary so that error won’t occur. On the first LaTeX run, only those items will be present.

The initial comment lines below are arara directives. You can remove them if you don’t use arara.
% arara: pdflatex
% arara: bib2gls
% arara: pdflatex
\documentclass{article}
\usepackage{amssymb}
\usepackage[nomain,abbreviations,record]{glossaries-extra}[2020/03/23]% v1.44+
\setabbreviationstyle{short-long-desc}
\setabbreviationstyle[acronym]{short-long}
\newglossary*{vegetables}{Vegetables}
\newglossary*{minerals}{Minerals}
\newglossary*{animals}{Animals}
\newglossary*{mathgreek}{Symbols (Greek)}
\newglossary*{latinsymbols}{Symbols (Latin)}
\newglossary*{pictographs}{Pictographs}
\GlsXtrLoadResources[
src={vegetables,minerals,animals,
mathgreek,latinsymbols,pictographs,
abbreviations},
type={same as base},
selection={all},
sort={en}
]
\begin{document}
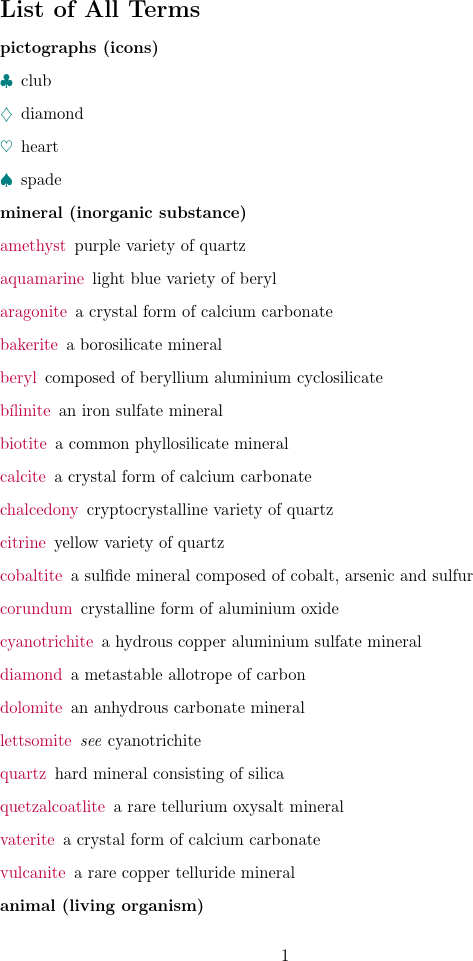
\begin{printunsrtglossarywrap}[style=list,title={List of All Terms}]
\item[pictographs (icons)]
\printunsrtinnerglossary[type=pictographs]{}{}
\item[mineral (inorganic substance)]
\printunsrtinnerglossary[type=minerals]{}{}
\item[animal (living organism)]
\printunsrtinnerglossary[type=animals]{}{}
\item[veggies (plants)]
\printunsrtinnerglossary[type=vegetables]{}{}
\item[mathematical symbols (Latin)]
\printunsrtinnerglossary[type=latinsymbols]{}{}
\item[mathematical symbols (Greek)]
\printunsrtinnerglossary[type=mathgreek]{}{}
\item[abbreviations (acronyms etc)]
\printunsrtinnerglossary[type=abbreviations]{}{}
\end{printunsrtglossarywrap}
\end{document}
If you don’t use arara, you need to run the following commands:
pdflatex innerglossaries1
bib2gls innerglossaries1
pdflatex innerglossaries1
(See Incorporating makeglossaries or makeglossaries-lite or bib2gls into the document build.)
Download: PDF (82.09K), source code (1.33K).
Notes
- Each inner glossary is placed after a sub title that’s typeset with
\item[sub title]. Theliststyle also uses this command to typeset the top-level entry names. This makes it hard to distinguish between the sub title and entry names. (It would be easier to distinguish if the sub titles had the more conventional approach of using title case or at least starting with a capital letter.) There’s also nothing to stop the page break occurring between the sub title “animal (living organism)” and the first entry in the “animals” glossary. - The glossary titles (assigned in
\newglossary*) aren’t used anywhere so there was no point assigning them. They could therefore just be defined as untitled “ignored” glossaries instead with\newignoredglossary*{glossary label}. - If the
titlekey hadn’t been set in the optional argument of theprintunsrtglossarywrapenvironment, the title would be “Abbreviations” (not “Glossary”). This is because the default glossary in this example document is the “abbreviations” glossary (sincenomainhas suppressed the creation of the normal default glossary).
This example is provided to demonstrate the use of printunsrtglossarywrap and \printunsrtinnerglossary. In this case, a far simpler and neater solution can be obtained with just using \printunsrtglossary for each glossary (as in Multiple Glossaries) and adjusting the sectioning command. For example, the document can be modified slightly:
\setupglossaries{section=subsection}
\section*{List of All Terms}
\printunsrtglossary[type=pictographs,title={pictographs (icons)}]
\printunsrtglossary[type=minerals,title={mineral (inorganic substance)}]
\printunsrtglossary[type=animals,title={animal (living organism)}]
\printunsrtglossary[type=vegetables,title={veggies (plants)}]
\printunsrtglossary[type=latinsymbols,title={mathematical symbols (Latin)}]
\printunsrtglossary[type=mathgreek,title={mathematical symbols (Greek)}]
\printunsrtglossary[type=abbreviations,title={abbreviations (acronyms etc)}]
Since ignored glossaries work just as well for this example, it’s simpler to make bib2gls define them instead with the --provide-glossaries switch (v2.23+). The following example is a slight modification that demonstrates this. It also demonstrates the pre-code argument, which may be used to locally redefine commands (such as the \printunsrtglossaryentryprocesshook hook that may be used to filter entries). In this case, I’m using pre-code to sometimes locally redefine \glsnamefont, which alters the formatting of the entry names. It’s not used for all the glossaries, which helps demonstrate that the redefinition is localised.
The initial comment lines below are arara directives. You can remove them if you don’t use arara.
% arara: pdflatex
% arara: bib2gls: { options: [ --provide-glossaries ] }
% arara: pdflatex
\documentclass{article}

\usepackage{xcolor}
\usepackage{amssymb}
\usepackage[nomain,abbreviations,record]{glossaries-extra}[2020/03/23]% v1.44+

\setabbreviationstyle{short-long-desc}
\setabbreviationstyle[acronym]{short-long}

\GlsXtrLoadResources[
  src={vegetables,minerals,animals,
       mathgreek,latinsymbols,pictographs,
       abbreviations},
  type={same as base},
  selection={all},
  sort={en}
]

\newcommand{\iconfont}[1]{\textcolor{teal}{#1}}
\newcommand{\substancefont}[1]{\textcolor{purple}{\mdseries #1}}

\begin{document}
\begin{printunsrtglossarywrap}[style=list,title={List of All Terms}]
\item[pictographs (icons)]
\printunsrtinnerglossary[type=pictographs]
{\let\glsnamefont\iconfont}% pre-code
{}% post-code

\item[mineral (inorganic substance)]
\printunsrtinnerglossary[type=minerals]{\let\glsnamefont\substancefont}{}

\item[animal (living organism)]
\printunsrtinnerglossary[type=animals]{\let\glsnamefont\substancefont}{}

\item[veggies (plants)]
\printunsrtinnerglossary[type=vegetables]{\let\glsnamefont\substancefont}{}

\item[mathematical symbols (Latin)]
\printunsrtinnerglossary[type=latinsymbols]{}{}

\item[mathematical symbols (Greek)]
\printunsrtinnerglossary[type=mathgreek]{}{}

\item[abbreviations (acronyms etc)]
\printunsrtinnerglossary[type=abbreviations]{}{}

\end{printunsrtglossarywrap}
\end{document}
If you don’t use arara, you need to run the following commands:
pdflatex innerglossaries2
bib2gls --provide-glossaries innerglossaries2
pdflatex innerglossaries2
(See Incorporating makeglossaries or makeglossaries-lite or bib2gls into the document build.)
Download: PDF (81.05K), source code (1.41K).
Nested Glossaries
This example uses \printunsrtinnerglossary inside the handler function \printunsrtglossaryhandler{label} to give the illusion of a single hierarchical glossary. This requires a style that supports hierarchy, such as the tree styles.
First consider a normal hierarchical glossary. The topics.bib contains:
% Encoding: UTF-8

@indexplural{animal,
 topicdescription={living organism that has specialised sense
 organs and nervous system}
}

@indexplural{vegetable,
 topicdescription={plant or part of a plant used as food}
}

@indexplural{mineral,
 topicdescription={solid, inorganic, naturally-occurring substance}
}

@indexplural{abbreviation}
@indexplural{symbol}
@indexplural{markuplanguage,text={markup language}}
@indexplural{agency,plural={agencies}}
These are essentially topic titles. There are additional sub-topic titles in symboltopics.bib which contains:
% Encoding: UTF-8

@indexplural{latinsymbol,text={Latin symbol},topic={symbol}}
@indexplural{mathgreek,text={Greek symbol},topic={symbol}}
@indexplural{pictograph,topic={symbol}}
These have a custom field called topic.
The animals.bib file contains entries with another custom field called identifier. For example:
@entry{duck,
  name={duck},
  description={a waterbird with webbed feet},
  identifier={animal}
}
These custom fields will be ignored by bib2gls unless they’re defined or aliased to a known field. For example:
field-aliases={identifier=parent,topic=parent},
This makes the “duck” entry in the animals.bib file a child of the “animal” entry that’s defined in the topics.bib file. It also makes all the entries in symboltopics.bib children of the “symbol” entry.
In this example, I’ve aliased these custom fields to type:
field-aliases={identifier=type,topic=type},
which will assign the “duck” entry to the glossary with the label “animal” etc and the entries in symboltopics.bib will be assigned to the “symbol” glossary. Note that these glossaries have a label that’s identical to a topic or sub-topic entry label. The --provide-glossaries switch ensures that these glossaries are defined in the resource file that’s created by bib2gls.
The “main” glossary is now required for all the main topic entries (defined in topics.bib). Since these entries don’t have the type field set (they don’t have the custom identifier field) they will automatically be assigned to the default “main” glossary.
A custom handler function is defined:
\newcommand{\nestedhandler}[1]{%
  \glsxtrunsrtdo{#1}%
  \ifglossaryexists*{#1}%
  {%
    \printunsrtinnerglossary[type={#1},leveloffset=++1,groups=false]{}{}%
  }%
  {}%
}
This typesets the entry as usual with \glsxtrunsrtdo{label} but then tests if a glossary exists with the same label as the entry. This needs to use the starred form of \ifglossaryexists* which treats ignored glossaries as existing. If the glossary does exist, it’s then typeset using \printunsrtinnerglossary. The level offset is increment with leveloffset=++1, which makes the top-level entries of the nested glossary appear as though they were child entries. The automated group insertion must be cancelled with groups=false to avoid strange results.
All entries are then displayed with:
\printunsrtglossary*{\let\printunsrtglossaryhandler\nestedhandler}
This locally sets the handler to the document’s custom handler. The complete document code is listed below. The initial comment lines are arara directives. You can remove them if you don’t use arara.
% arara: pdflatex
% arara: bib2gls: { group: on, options: [ --provide-glossaries ] }
% arara: pdflatex
\documentclass{article}

\usepackage{amssymb}
\usepackage[record,nostyles,stylemods=tree,style=treegroup]{glossaries-extra}[2020/03/23]% v1.44+

\setabbreviationstyle{short-long-desc}
\setabbreviationstyle[acronym]{short-long}

\GlsXtrLoadResources[
  src={topics,symboltopics,vegetables,minerals,animals,
       mathgreek,latinsymbols,pictographs,
       abbreviations},
  field-aliases={identifier=type,topic=type},
  selection={all},
  sort={en}
]

\newcommand{\nestedhandler}[1]{%
  \glsxtrunsrtdo{#1}%
  \ifglossaryexists*{#1}%
  {%
    \printunsrtinnerglossary[type={#1},leveloffset=++1,groups=false]{}{}%
  }%
  {}%
}

\begin{document}
\printunsrtglossary*{\let\printunsrtglossaryhandler\nestedhandler}
\end{document}
If you don’t use arara, you need to run the following commands:
pdflatex innerglossaries3
bib2gls --provide-glossaries --group innerglossaries3
pdflatex innerglossaries3
(See Incorporating makeglossaries or makeglossaries-lite or bib2gls into the document build.)
Download: PDF (81.00K), source code (828B).
Notes
- There’s no “abbreviations” glossary in this example. The abbreviations are placed either the “markuplanguage” or “agency” glossaries.
- This document use
selection=allto select all entries. If you are using the defaultselection=recorded and depsthen you need to make sure that the “parent” entries are selected. This is done automatically when theparentfield is used, but it won’t happen for this pseudo-hierarchy which uses thetypefield instead. See the sample-nested.tex example document in the “Examples” chapter of the bib2gls user manual for further details.
As with the previous examples on this page, there’s a far simpler method to achieve the same result:
\documentclass{article}

\usepackage{amssymb}
\usepackage[record,nostyles,stylemods=tree,style=treegroup]{glossaries-extra}

\setabbreviationstyle{short-long-desc}
\setabbreviationstyle[acronym]{short-long}

\GlsXtrLoadResources[
  src={topics,symboltopics,vegetables,minerals,animals,
       mathgreek,latinsymbols,pictographs,
       abbreviations},
  field-aliases={identifier=parent,topic=parent},
  selection={all},
  sort={en}
]

\begin{document}
\printunsrtglossary
\end{document}
Different Ordering
The above examples could all be more easily reproduced with the methods used in Logical Glossary Divisions (type vs group vs parent) so you might be wondering what’s the point of \printunsrtinnerglossary. This example demonstrates a hierarchical effect with nested glossaries that can’t be reproduced with the parent field. In this case, the main topic entries are sorted in reverse alphabetical order, but the entries in the inner glossaries are sort according to the normal alphabetical order.
Only one sort method can be used for primary entries within a single resource set. It is possible to specify a different sort method for dual or secondary entries, but it’s not possible to use different sort methods for different hierarchical levels.
In order to use different sort methods for the different glossaries it’s necessary to split them into separate resource sets:
\GlsXtrLoadResources[
   src={topics},
   selection={all},
   sort={en-reverse}
]

\GlsXtrLoadResources[
  src={symboltopics,vegetables,minerals,animals,
       mathgreek,latinsymbols,pictographs,
       abbreviations},
  field-aliases={identifier=type,topic=type},
  selection={all},
  sort={en}
]
The rest of the code is the same as the previous example.
The complete document code is listed below. The initial comment lines are arara directives. You can remove them if you don’t use arara.
% arara: pdflatex
% arara: bib2gls: { group: on, options: [ --provide-glossaries ] }
% arara: pdflatex
\documentclass{article}

\usepackage{amssymb}
\usepackage[record,nostyles,stylemods=tree,style=treegroup]{glossaries-extra}[2020/03/23]% v1.44+

\setabbreviationstyle{short-long-desc}
\setabbreviationstyle[acronym]{short-long}

\GlsXtrLoadResources[
   src={topics},
   selection={all},
   sort={en-reverse}
]

\GlsXtrLoadResources[
  src={topics,symboltopics,vegetables,minerals,animals,
       mathgreek,latinsymbols,pictographs,
       abbreviations},
  field-aliases={identifier=type,topic=type},
  selection={all},
  sort={en}
]

\newcommand{\nestedhandler}[1]{%
  \glsxtrunsrtdo{#1}%
  \ifglossaryexists*{#1}%
  {%
    \printunsrtinnerglossary[type={#1},leveloffset=++1,groups=false]{}{}%
  }%
  {}%
}

\begin{document}
\printunsrtglossary*{\let\printunsrtglossaryhandler\nestedhandler}
\end{document}
If you don’t use arara, you need to run the following commands:
pdflatex innerglossaries4
bib2gls --provide-glossaries --group innerglossaries4
pdflatex innerglossaries4
(See Incorporating makeglossaries or makeglossaries-lite or bib2gls into the document build.)
Download: PDF (80.99K), source code (911B).
Note that the symbol sub topics are in the normal alphabetical order. If these also need to be in reverse order then the symboltopics.bib file should be moved to the first resource set. Remember that the custom topic field alias will also need to be moved:
\GlsXtrLoadResources[
   src={topics,symboltopics},
   field-aliases={topic=type},
   selection={all},
   sort={en-reverse}
]

\GlsXtrLoadResources[
  src={vegetables,minerals,animals,
       mathgreek,latinsymbols,pictographs,
       abbreviations},
  field-aliases={identifier=type},
  selection={all},
  sort={en}
]