D.2 TeXnicCenter
TeXnicCenter is an application that enables you to edit LaTeX source code, and simply click on a button to pass the source code to LaTeX, and then click on another button to view the resulting typeset document. Many people prefer this approach to the text editor and terminal approach. This section gives a brief overview of TeXnicCenter, however it has been several years since I last used itD.3, so this information may be dated.
TeXnicCenter is free and can be downloaded from CTAN in the systems/win32/TeXnicCenter/ directory or from http://www.toolscenter.org/. Note that you must have a TeX/LaTeX distribution installed before you install TeXnicCenter. If you installed proTeXt, you should already have TeXnicCenter installed. If you have any problems with installing or running TeXnicCenter, go to their help page.
Once the installation is complete, you can then run TeXnicCenter from the Start Menu: Start → Programs → TeXnicCenter → TeXnicCenter Firstly you should see the tip of the day window (Figure D.12.)
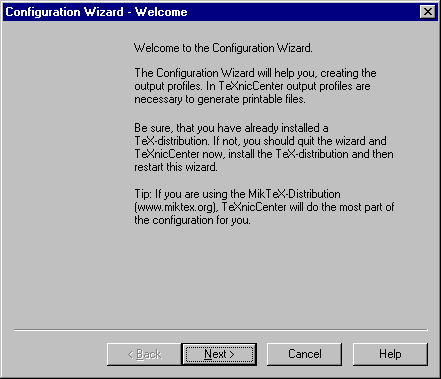
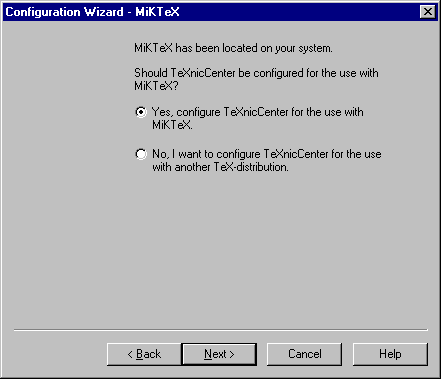
You can close this window, and then, if this is the first time you are using TeXnicCenter you will have to use the configuration wizard to set up TeXnicCenter correctly. I would recommend that you choose the default settings. (Select Next, Next and then Finish.)
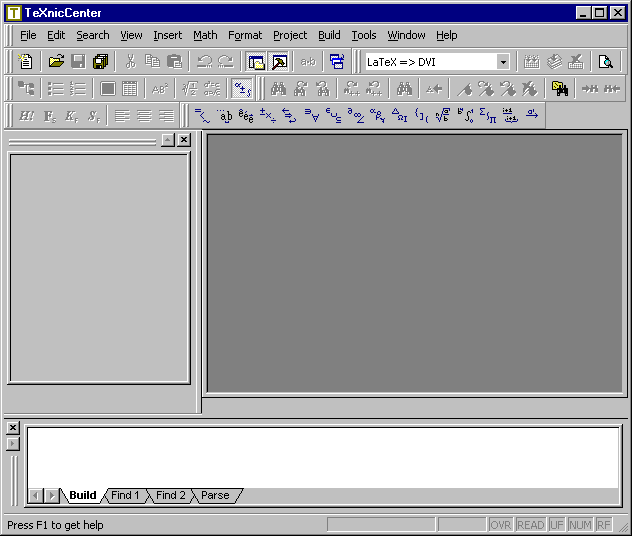
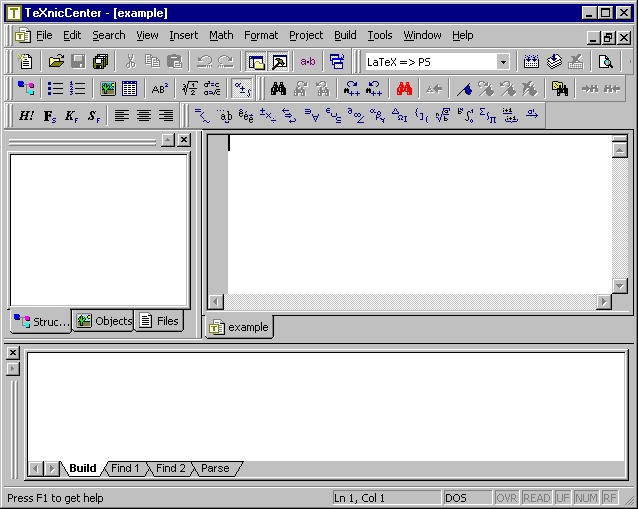
Now you are ready to use TeXnicCenter. It should look like Figure D.16.
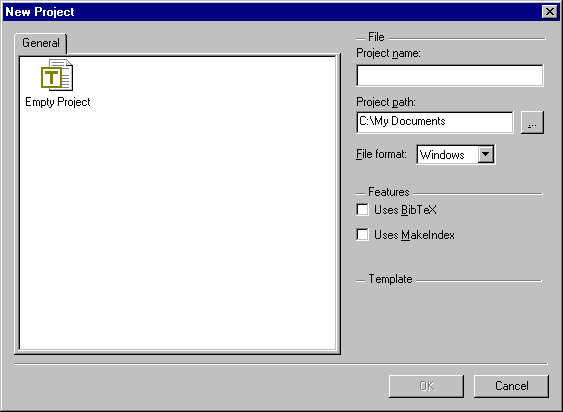
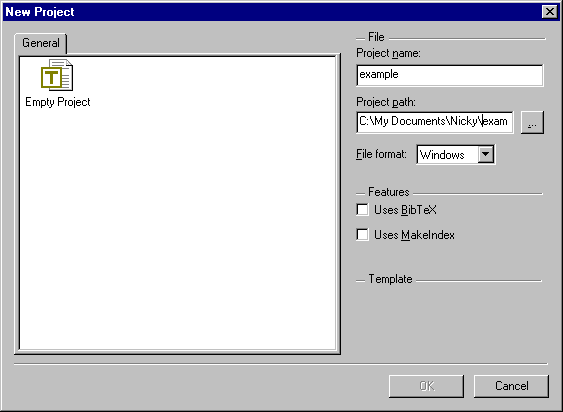
To start a new project select File → New Project. This will open the window shown in Figure D.17.
Enter a name for your project, and specify the directory where you
want to save your work. For example, I shall call my project
“example” and I want to save it in
c:\My Documents\Nicky\example (see Figure D.18.)
Select the “Empty Project” icon, and click on “Okay”. You should now see something like Figure D.19.
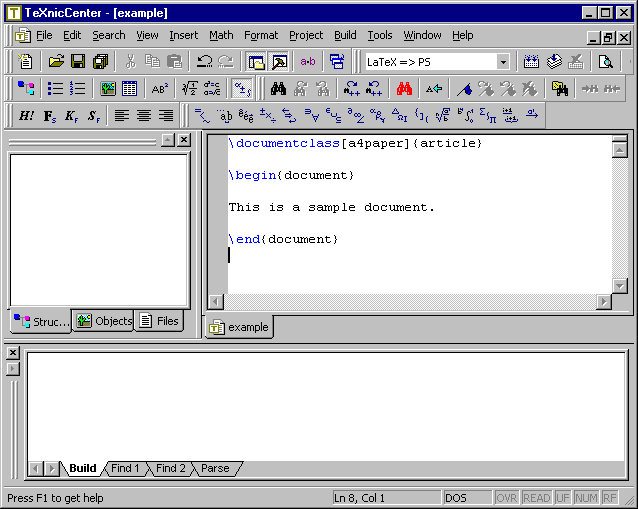
You can now start typing the source code (we'll cover this later). See Figure D.20.
Save it by either clicking on the save icon
![]()
Footnotes
- ... itD.3
- I used to use TeXnicCenter and MiKTeX when I was teaching LaTeX, but that was my limit of using TeX under Windows
This book is also available as A4 PDF or 12.8cm x 9.6cm PDF or paperback (ISBN 978-1-909440-00-5).


