4. Creating a Simple Document
Having installed and tested the software, let's now look at how to actually write the source code. The very first line of any document that you create must have the command:
This tells LaTeX what type of document you want to create
(for example an article, a technical report or correspondence). The
\documentclass command takes one mandatory argument, <class-name>,
that specifies the class file.
There are many class files available, and some publishers, institutions or journals provide their own custom classes (for example, the jmlr class for the Journal of Machine Learning Research). Popular classes include memoir (for books and reports) and those supplied in the KOMA-Script bundle (for books, reports, articles and correspondence). There's also beamer (for presentations) as well as classes for typesetting exams, flashcards, concert programmes etc. For simplicity, this book will concentrate on three of the KOMA-Script classes scrartcl (for articles), scrreprt (for technical reports, theses etc) and scrbook (for books).
We'll start with a very simple document, so let's use the scrartcl class file. In this case the very first line of the source code should be:
The \documentclass command also takes an
optional argument, <option-list>,
which should be a comma separated list of options to be passed to the
class file. This allows you to override the class file defaults.
For example, the scrartcl class file by default uses A4
paper, but if you are in the USA you will probably want to use
letter paper. This can be achieved
using the option letterpaper. So you would need to edit the
above line to:
Let's change another option. The normal font size is 11pt by default, but we have the option to change it, so let's use 12pt:
You can also change your document so that it is in a two-column format using the twocolumn option:
After deciding what type of document you want, you now need to specify the contents of the document. This is done inside the document environment. The document is started with the command:
and ended with
(LaTeX stops reading the file when it reaches the above line, so anything occurring after it is ignored.)
My source code now looks like:
Every document you create must have this form. You can't simply start typing the document text. You must first specify your class file, and then place the contents of the document inside the document environment.
So far so good, but at the moment we have an empty document, so we won't get any output. Let's now put some text into our document:
Top Five Mistakes Made by New Users
I first started teaching LaTeX in 1998, and these are the most common errors I've seen when people start learning LaTeX:
- Missing out the backslash \ at the start
of one or more of the commands.
- Using a forward slash / instead of a backslash
\.
- Forgetting
\end{document}. - Misspelling “document” (in
\begin{document} and\end{document}). - Missing a closing brace }.
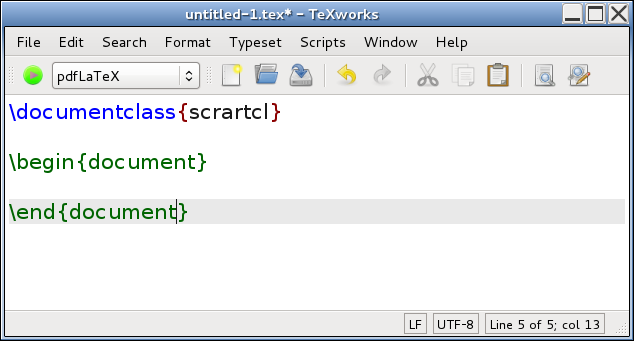
Whenever you start a new document, always type in the
\documentclass, \begin{document} and
\end{document} commands first
(Figure 4.1). Then move your cursor between the
\begin and \end lines and type the document text
(Figure 4.2).
|
 |
Exercise 1: Simple Document
Try typing the code in the above example into TeXWorks or the editor of your choice (see the previous section if you can't remember what to do.) You can also download a copy of this file, but I recommend that you try typing it in to give yourself some practice.
Things to note while you are typing: firstly, when you press the return character at the end of a line this end-of-line character is converted into a space in the output file. So the fact that I have some very ragged lines in my source code has no effect on the final result. (Note that some front-ends will reformat your lines as you type.) Whereas a completely blank line will be converted into a paragraph break (
\parhas the same effect).Secondly, multiple spaces are converted into a single space, so the large gap between the words “can” and “see” is no different from having a single space.
Once you have typed up your source code, save your file (called, for example, exercise1.tex), and run PDFLaTeX as described in §3.1. TeXWorks. If all goes well, TeXWorks should display the resulting PDF file in a new window, usually alongside the window containing the source code.
Notes:
- Each paragraph automatically starts with an indentation in the PDF.
- There is no blank line between the paragraphs in the PDF document. (See what happens if you add the KOMA-Script class option parskip=full:
and rebuild the PDF.)
- Move the mouse over one of paragraphs in the PDF viewer and pop-up the context menu (usually a right mouse click). Select Jump to Source. The window containing the source code should now gain the focus and the line of code matching the typeset line you clicked on in the PDF should now be highlighted.
This book is also available as A4 PDF or 12.8cm x 9.6cm PDF or paperback (ISBN 978-1-909440-00-5).