Defining the Typeblock
The typeblock is the main area of the page where the text goes. The dimensions of the typeblock are given by the LaTeX lengths \textwidth and \textheight. It's possible to define frames that are positioned outside of the typeblock, but the typeblock provides a frame of reference and, unless otherwise instructed, the page header and footer will be placed above and below the typeblock according to LaTeX's standard page layout design.
Note that the twoside class option will typically shift the typeblock on the even (verso) pages (via the \evensidemargin length) whereas the oneside class option won't. Different classes have different default settings. For example, the article and report classes default to oneside but the book class defaults to twoside. This setting also affects the running headers and footers.
In FlowframTk, you specify the typeblock using the TeX/LaTeX->Flow Frames->Set Typeblock menu item. This opens up a dialog box in which you can enter the margins between the paper edge and the typeblock. You can either type the lengths into the supplied fields or, if you have a path selected, you can get FlowframTk to calculate the margins for a typeblock that fits the path's bounding rectangle by clicking on the Compute Margins From Selected Path button. (This button is disabled if no path is selected.)
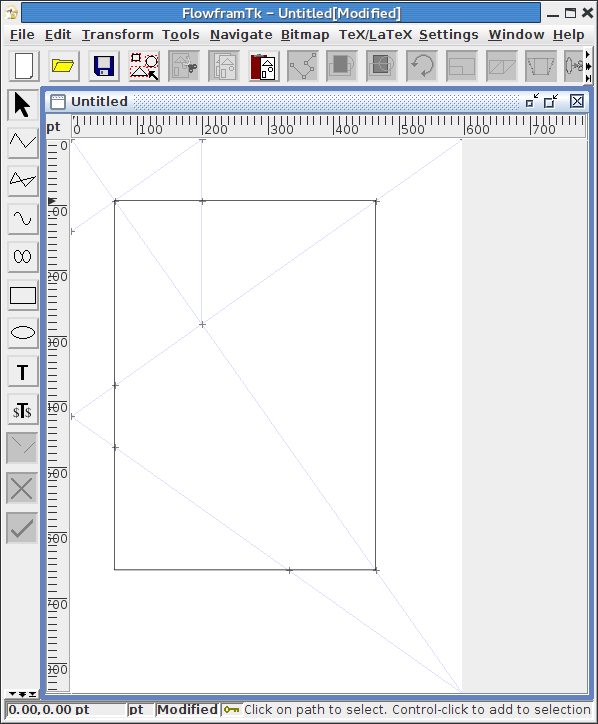
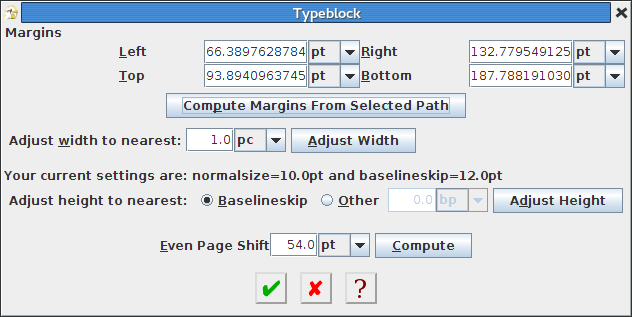
For example, Figure 10.6(a) shows a path that has been created using the rectangle tool on the Tschichold grid. This was then selected and the Typeblock dialog was opened. The Compute Margins From Selected Path button was clicked which then filled in the values for the margins.
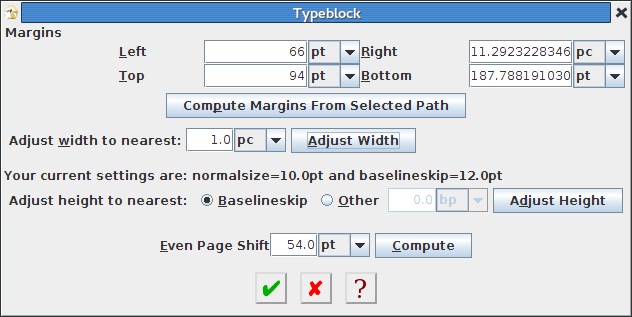
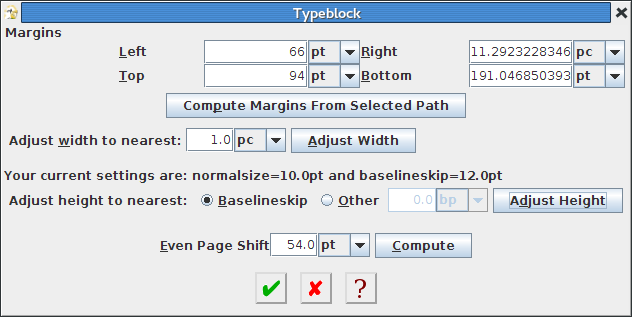

It's possible you might want to round the left and top margins to the nearest unit. In which case you can do so by editing the Left and Top fields. Additionally, you might want to adjust the right margin so that the typeblock width is rounded to, say, the nearest whole mm or whole or half pc. To do this, type in the required value in the Adjust width to nearest field (for example 1pc) and click on the Adjust Width button. For example, I changed the left margin to 66pt and the top margin to 94pt. The Adjust width to nearest was already set to 1pc, so I left it at that and clicked on the Adjust Width button. This filled in the right and bottom margins as shown in Figure 10.6(c).
You can also adjust the bottom margin so that the typeblock height is rounded to the nearest baselineskip or another value such as 1in. To round to the nearest baselineskip, make sure the Baselineskip button is selected otherwise make sure the Other button is selected and enter the required amount in the field. Then click on the Adjust Height button. For example, in Figure 10.6(d) the bottom margin has been adjusted to ensure the typeblock height is rounded to the nearest baselineskip.
Note that rounding errors may occur caused by the conversion between units. If you later change the normalsize, you may need to readjust the typeblock height.
Finally, if you use the twoside class option, you can get FlowframTk to adjust the value of \evensidemargin. Even Page Shift is the difference between \evensidemargin and \oddsidemargin. If the value in the Even Page Shift field is non-zero, when you export to a class or package, FlowframTk will add the commands:
where <h-shift> is the length specified in the Even Page Shift field. If you specify a zero length, \evensidemargin won't be adjusted, but the typeblock may not be displayed correctly when you display even pages in FlowframTk. Remember that \evensidemargin is ignored if you use the oneside class option.If you find it a bit complicated to work out the appropriate shift, you can use the Compute button, which will work out the shift assuming a symmetric page layout. For example, in Figure 10.6(e) I clicked on Compute and it altered the value in the Even Page Shift field.
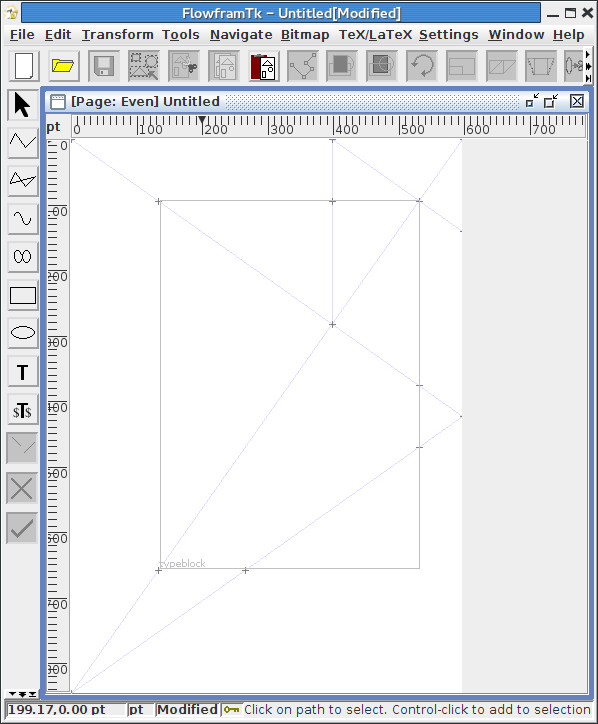
Once you have set the typeblock, it will appear on the screen as a light grey rectangle, labelled "typeblock". In Figure 10.7 I removed the path I had used to calculate the typeblock (using Edit->Cut). The typeblock is slightly smaller than the path as a result of the adjustments made.
|